10 Interior Painting Tips for a Smooth and Flawless Finish
A fresh coat of paint can completely transform the look and feel of your home. But achieving that smooth, professional-looking finish? That’s where the real challenge lies! Whether you’re a DIY enthusiast or considering hiring the pros, understanding the best painting techniques can save you time, money, and frustration.
At The Painters Hub, we know that a flawless paint job starts long before the first stroke of the brush. It’s all about preparation, using the right tools, and following expert techniques. In this guide, we’ll walk you through 10 must-know tips to get that picture-perfect interior paint job!
1. Prep Your Walls Like a Pro
Preparation is the key to a smooth finish. Before you even think about opening a paint can, make sure your walls are clean, smooth, and ready to hold paint.
Clean the Surface: Dirt, dust, and grease can ruin your paint job. Wash walls with a mild soap solution and let them dry completely.
Fill in the Gaps: Use Plaster to fix holes, cracks, and dents. Sand the patched areas smooth for an even surface.
Remove Flaking Paint: If the existing paint is peeling, scrape it off and sand the surface.
Tape and Protect: Use painter’s tape to cover trims, sockets, and edges to prevent accidental smudges. Lay down drop cloths to protect floors and furniture.
Prepping might take a bit of effort, but trust us, it makes all the difference in achieving a professional result!
2. Choose the Right Tools for the Job
Investing in high-quality tools ensures better coverage, a cleaner finish, and a smoother application.
- Paintbrushes: Choose high-quality brushes for precision work around edges, trims, and corners.
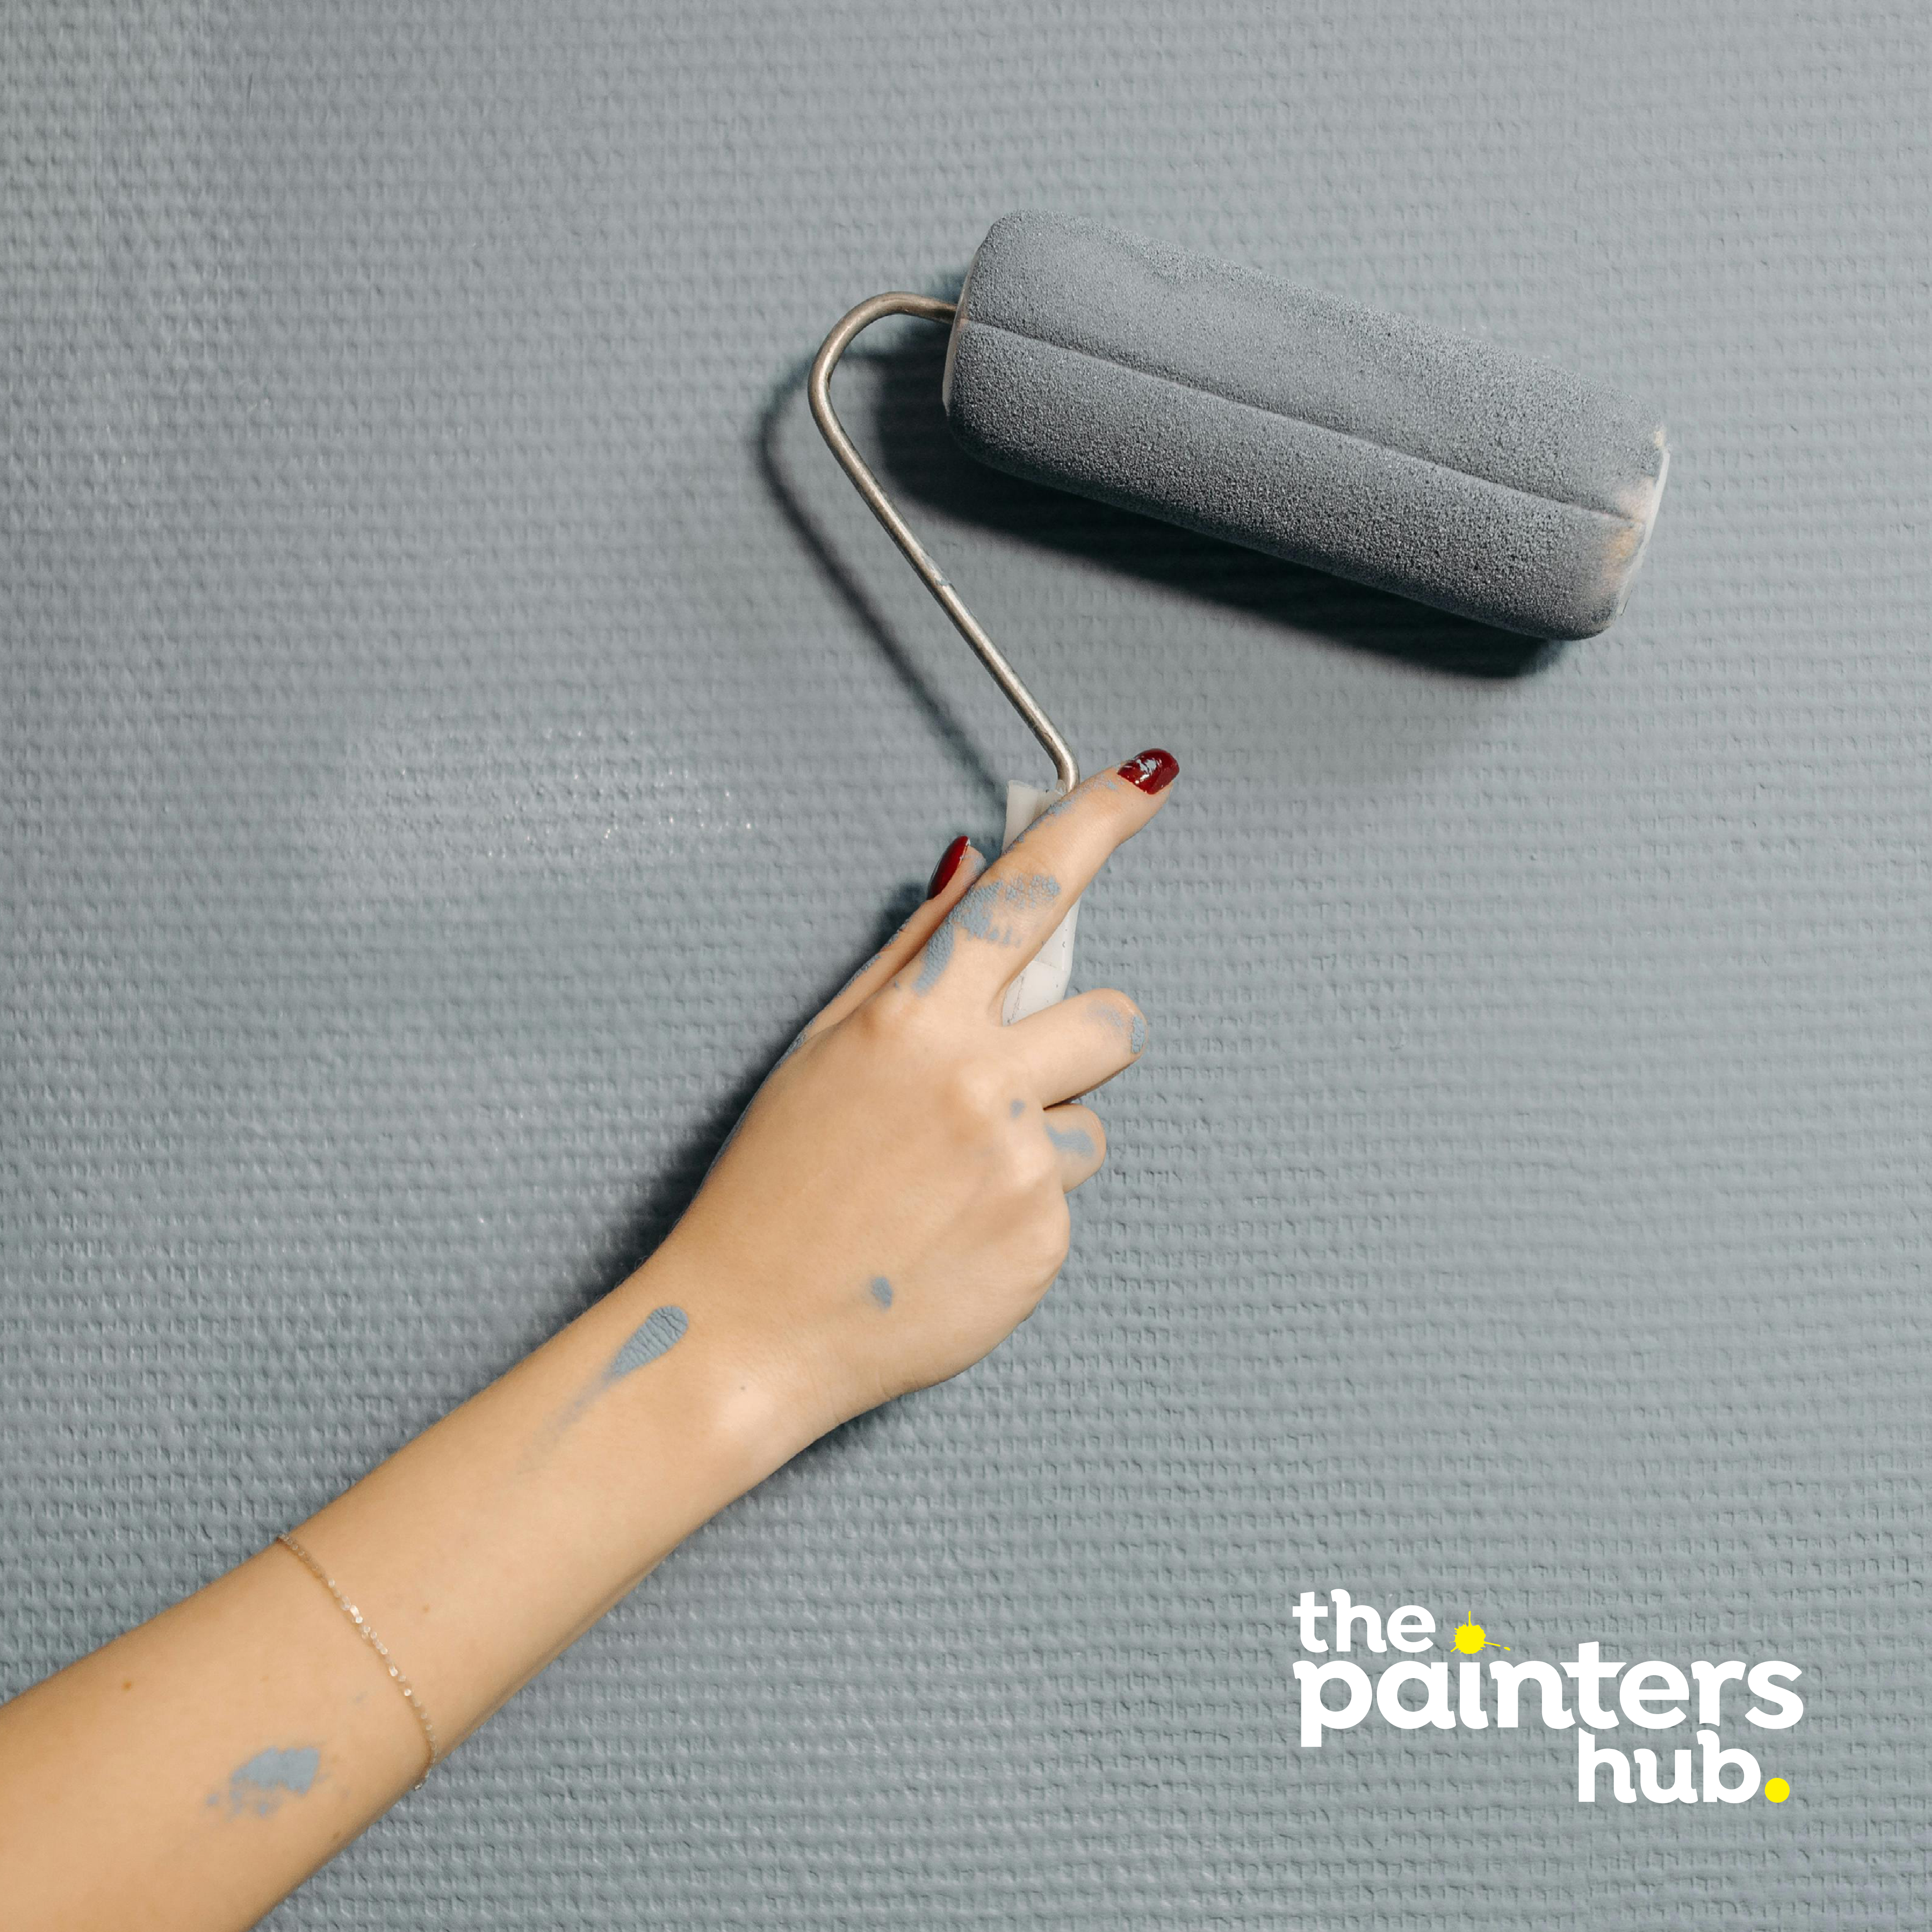
- Rollers: A good roller will cover large surfaces evenly. Use a short-nap roller (5-10mm) for smooth walls and a longer-nap roller (12-20mm) for textured surfaces.
- Painter’s Tape: Prevents paint from bleeding into areas you don’t want to paint.
- Extension Pole: Saves your back and helps reach ceilings and high walls.
Remember, using cheap tools can lead to streaks, uneven coverage, and unnecessary frustration.
3. Don’t Skip the Primer
Primer is a game-changer, yet many DIY painters skip this crucial step. Why is it so important?
- Improves Adhesion: Helps paint stick better and last longer.
- Covers Stains and Dark Colors: Prevents old paint from showing through.
- Enhances Durability: Reduces peeling and chipping over time.
If you’re painting over a dark or bold color, always use a high-quality primer to ensure smooth, even coverage.
4. Choose the Right Paint Finish
Paint finish matters more than you think! The right sheen can impact both the look and longevity of your paint job.
- Flat/Matte: Hides imperfections but isn’t very durable.
- Eggshell: A perfect balance between matte and gloss; ideal for living rooms and bedrooms.
- Satin: Slightly shinier and easier to clean; great for kitchens and hallways.
- Semi-Gloss: Resistant to moisture; best for bathrooms, trim, and doors.
- Gloss: Durable and shiny; ideal for cabinets and high-traffic areas.
Pick a finish that matches the function of the space you’re painting!
5. Cut In Before Rolling
Want a seamless paint job? Start by cutting in.
- Use a high-quality angled brush to paint along corners, edges, and ceilings.
- Cut in small sections (1-2m at a time) before using a roller to blend it in.
This technique ensures a smooth, professional-looking finish without visible brush marks.
6. Use the “W” Technique When Rolling
Rolling paint randomly leads to streaks and uneven layers. Instead, use the W Technique:
- Load your roller with paint.
- Start in a corner and roll a large “W” shape.
- Without lifting the roller, fill in the W with horizontal strokes.
- Repeat until the entire wall is covered.
This method spreads the paint evenly and prevents roller marks.
7. Apply Multiple Thin Coats, Not One Thick Coat
Rushing to finish the job? Don’t make the mistake of slapping on one thick coat.
- Thick layers take longer to dry and are more likely to drip or peel.
- Apply 2-3 thin coats, allowing each coat to dry properly before adding the next.
- This results in a smooth, even finish that lasts longer.
Patience is key to a perfect paint job!
8. Work With Natural Light
Painting in dim lighting? You might miss uneven spots!
- Paint in natural daylight whenever possible.
- Use bright LED lights to check for streaks and missed areas.
- Review the paint job from different angles to ensure even coverage.
A well-lit workspace leads to a flawless finish.
9. Remove Tape at the Right Time
Timing is everything when it comes to painter’s tape.
- Remove the tape while the paint is still slightly damp to avoid peeling.
- Pull at a 45-degree angle for a clean, sharp edge.
- If the paint has dried, run a razor blade along the edge before removing the tape.
This prevents chipping and ensures clean lines.
10. Consider Hiring the Pros
While DIY painting can be fun, sometimes it’s best to leave it to the experts.
- Save Time & Effort: Professional painters work efficiently and deliver top-notch results.
- Flawless Finish: No missed spots, drips, or streaks.
- Expert Advice: Pros can recommend the best paints, finishes, and colors for your space.
At The Painters Hub, we pride ourselves on delivering high-quality, professional painting services that take the stress out of your home makeover.
Painting your home doesn’t have to be overwhelming! By following these 10 expert tips, you can achieve a flawless interior paint job that looks like it was done by professionals.
But if you’d rather skip the hassle and get a perfect finish the first time, we’re here to help. Contact The Painters Hub today for a free consultation, and let’s bring your vision to life!


